- Expert advice/
- Invites & paper/
- Invitations/
- Wedding Invitation Checklist
- Invitations
Wedding Invitation Checklist
From guest lists to choosing the perfect stationery, we've got all the tips with our wedding invitation checklist! Click here for more information.
Last updated February 5, 2024

You’re well into the wedding planning process. You’ve sent out your save the dates. You’ve locked in your wedding date, your wedding venue, and your guest list. Now, you’re finally ready to take the next big step—and send out your actual wedding invitations.
But how, exactly, do you do that? What’s the proper etiquette? When should you send them? And what should you include? Our wedding invitation checklist has got you covered.
Let’s take a deep dive into all things wedding invites so that you know exactly how to navigate the process and get your invitations into the mail at the right time and in the right way. Below you’ll find our checklist for wedding invitations that will help you choose the right wedding stationery.
What Information Do I Need to Include on My Wedding Invitations?
Your wedding invites are your opportunity to deliver key information to your guests about your wedding day. And, as such, there are a few critical details that you need to include on your wedding stationery, including:
- Who is getting married—you and your partner
- The date of the wedding
- The location of the wedding
- The start time of the wedding
- The tone and formality of the wedding, including dress code
If parents are hosting the wedding, it’s also important to recognize them on the invitation. (It’s a nice gesture to recognize the other set of parents, as well, although it’s not absolutely necessary).
If you don’t include RSVP cards, you should also include information on how and when to RSVP—and if you have a wedding website, you can also include it on your invite (which is especially important if you’re using your website to collect RSVPs or to host your wedding registry).
If you need more guidance on exactly how to structure your wedding invites, make sure to check out our guide on how to word wedding invitations, which includes a handy wedding invite template.
What Additional Paper Pieces Need to Get Sent With My Wedding Invitations?
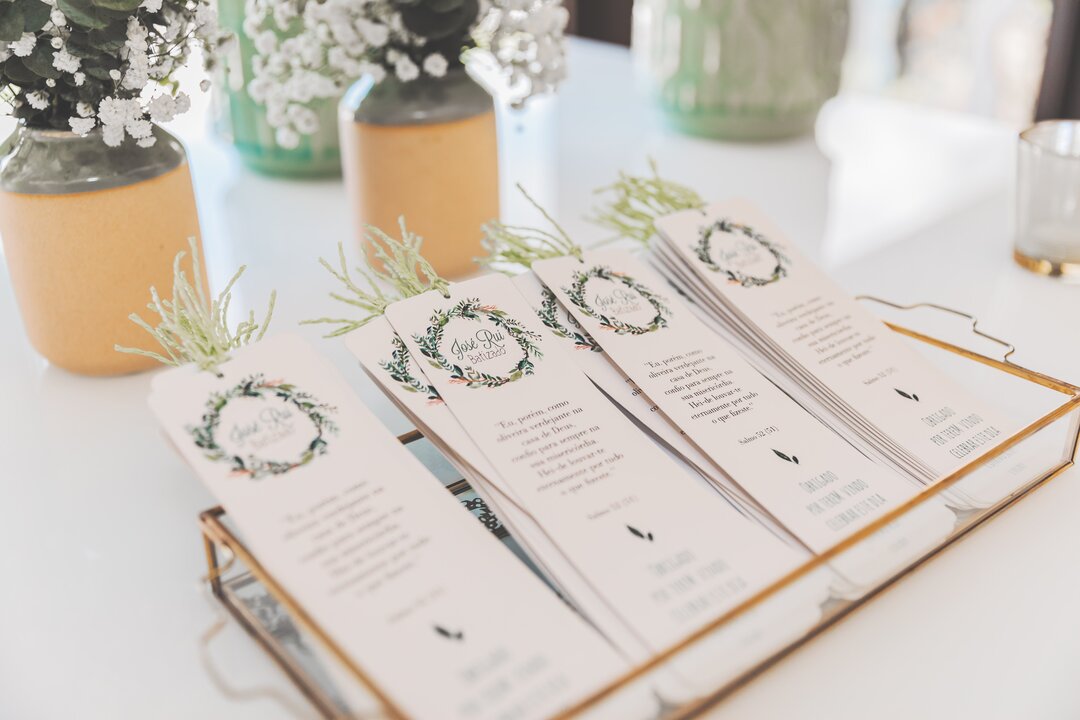
Depending on your wedding details and your personal preferences, you might want to include some additional enclosure cards with your wedding invitations.
Some enclosure cards you may want to consider include:
-
RSVP cards. RSVP cards (or response cards) are a way for you to collect your guests’ responses and see who is going to be able to attend your wedding. You can also use RSVP cards to collect your guests’ meal selection.
-
Accommodations cards. If you want to suggest local hotels near your wedding venue, or details about a reserved hotel block, you can add a separate accommodation card to your wedding invites.
-
Itinerary card. Is your wedding weekend packed with events—such as a Friday night cocktail party, a Saturday morning yoga session, and a Sunday morning brunch after your Saturday wedding? If so, it may be helpful to include an itinerary card with a summary of each event, along with the corresponding time and location.
-
Attire cards. If you have a specific dress code for your wedding and other wedding-related events, you may want to include an attire card that outlines the dress code for each event.
-
Reception card. If your wedding ceremony and wedding reception are at two different locations, you can include a reception card to share details of the time and location of your post-ceremony celebration.
-
Map and directions cards. Thanks to technology like Google maps, your guests should be able to find your wedding venue on their own—but, if you’re concerned (or have guests who aren’t the most tech-savvy), you can include cards with a map and/or directions on how to get there.
-
Wedding website card. If you want to make things easier for yourself and your guests, you can just add all the above information to your wedding website. When you send out your wedding invites, be sure to then include a card with the website URL and the information that your guests can find on your website.
How Do I Address the Envelopes?

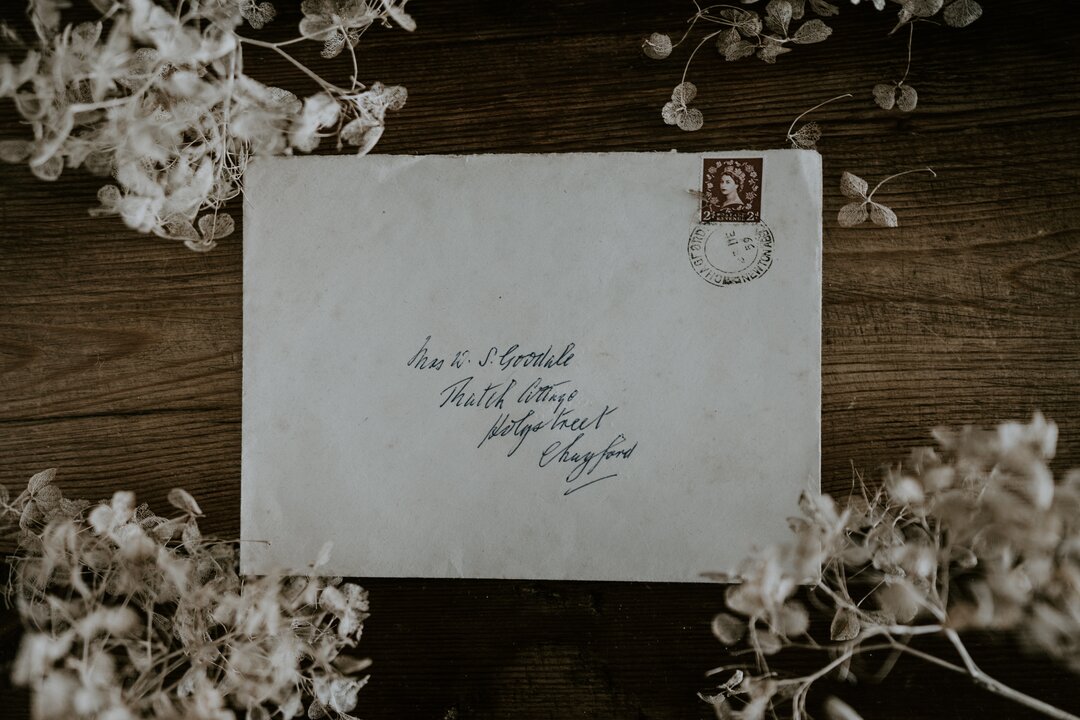
Addressing your wedding envelopes is an important step in the process. How you address your invites will let your guests know who is invited to your wedding—and, just as importantly, who is not. It’s important to be crystal clear with how you address your envelopes; otherwise, you might find yourself facing the awkward situation of people RSVP-ing with their children or a plus one that you didn’t actually plan to invite.
Some general rules of thumb for addressing your wedding envelopes include:
-
Use proper titles. With wedding invites, it’s always best to err on the side of formal. Use proper titles (like Mr., Mrs., Dr., or Miss) on your invites.
-
Be specific about who is invited. Again, you don’t want there to be any confusion about who is and who isn’t invited to your wedding—so be as specific as possible when addressing your invites. If you’re hosting a child-free wedding and are sending an invite to guests with children, make sure to only include the parents’ names on your invite. If you’re allowing plus ones at your event, add “and guest” to your guest’s name (for example, “Mr. Jon Snow and Guest”).
-
Address the family. If you’re inviting an entire family to your wedding, you can either just address your invite to the family as a whole (for example, “The Stark Family”) or you can address it to the family and then include each invited guests’ name, starting with the heads of the family and then listing each child from oldest to youngest.
-
For married couples. If you’re sending an invite to a married couple, there are a few different ways to address the envelope. For married couples with the same last name, you can either address the couple using both titles and just the husband’s first name (for example, “Mr. and Mrs. Ned Stark”). Or, you can use the titles and first names for both people (for example, “Mr. Ned and Mrs. Catelyn Stark”). If the couple is married with different last names, address the invites using both person’s title, first, and last name with the woman addressed first, if there is a woman in the relationship (for example, “Mrs. Leslie Knope and Mr. Ben Wyatt”).
-
For unmarried couples. For unmarried couples, use titles, first, and last names for both persons invited.
For more on the nitty-gritty details of how to properly write out your envelopes, make sure to check out our guide to how to address wedding invitations.
When Do I Need to Send My Wedding Invites?

Once your wedding invites are printed, addressed, and ready to go, the next question is when to send those invites to your guests.
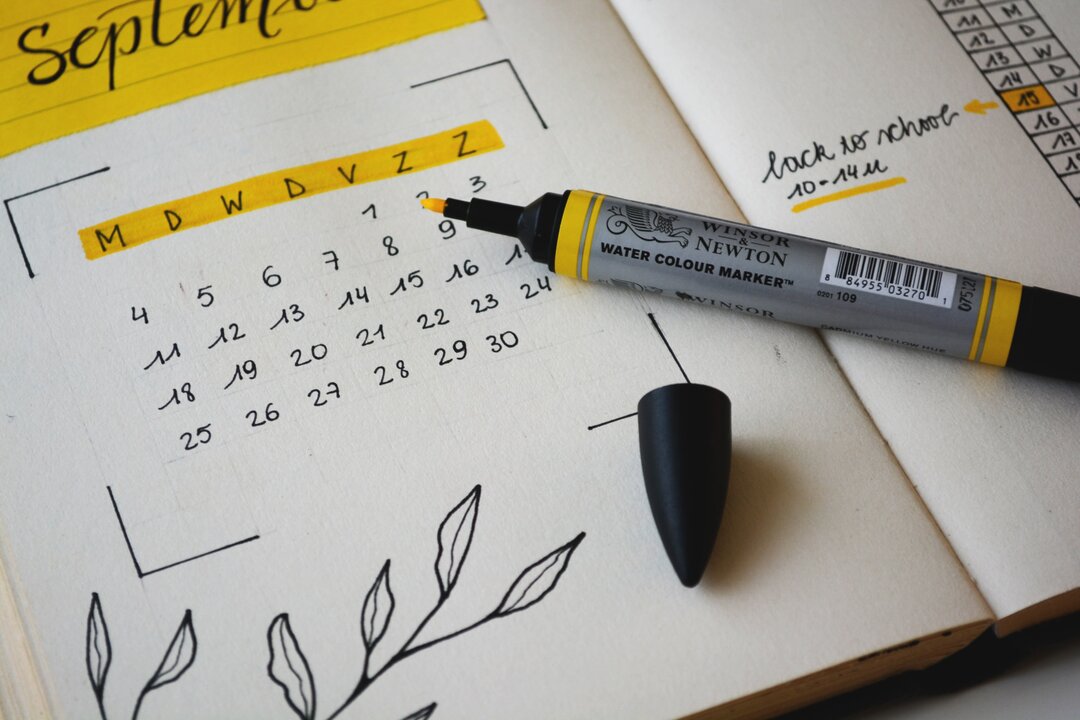
Wedding invites should be sent out at least six to eight weeks before your wedding date. If you’re hosting a destination wedding, or you have a solid number of people who will need to travel to your wedding, you’ll want to add a few weeks to give them extra time to book their travel; in that case, send out your invites 12 weeks before your big day.
What About Postage?
Your invites are done, your envelopes are addressed, and you’re ready to send them out, but what about postage?
Mailing your wedding invitations isn’t like mailing a letter; after all the time and energy you put into making your invites look amazing, you’re not just going to slap a stamp on them, put them in a mailbox, and hope for the best.
That’s where hand-processing and hand-canceling come in.
Hand-processing and hand-canceling are postage methods that ensure your invites are handled by a real, live person—and not by a machine. This can help prevent your invites from being bent, soiled, or otherwise damaged by postal machines—and can help you preserve the integrity of your invitations.
Hand-processing, which means that a postal worker will sort your invites by hand, and hand-canceling, which means that they’ll cancel the stamp by hand, cost extra—an additional 21 cents per invite. But, spending a little extra on wedding invitation-friendly postage is well worth the cost.
- Expert advice/
- Invites & paper/
- Invitations/
- Wedding Invitation Checklist
Find even more wedding ideas, inspo, tips, and tricks
We’ve got wedding planning advice on everything from save the dates to wedding cakes.
